

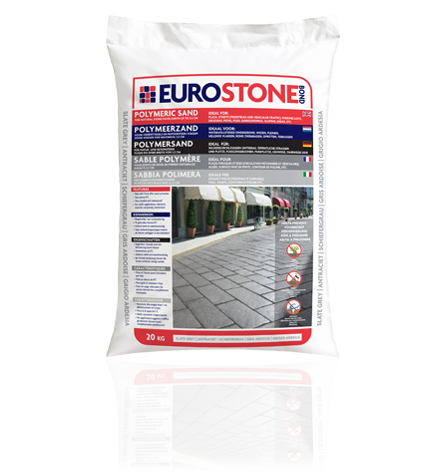
EUROSTONE BOND is the first polymeric sand, that meets DIN EN 13139 gradation, specifically designed for natural stone pavers. It can be used in an application for drainage base systems. It s perfect for stone roads, piazzas, driveways, pathways & stone apron driveways. This complete multi-purpose sand is available in Slate Grey. It sets above the freezing temperature 0°C.

- Residential and commercial use
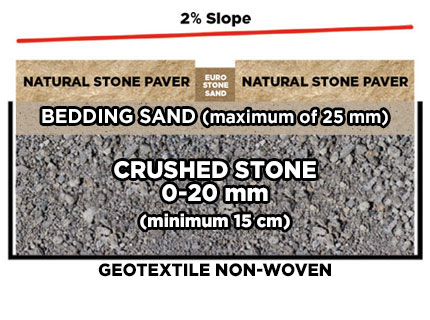
- Drainage base
- Natural stone and Cobble pavers
- Pool sides, patios, foot paths, driveways, stone apron driveways, parking spaces, stone roads and piazzas
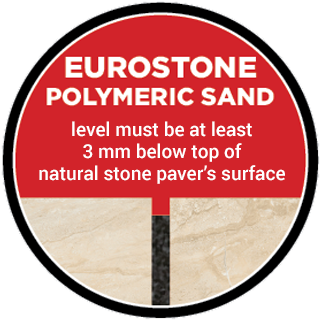
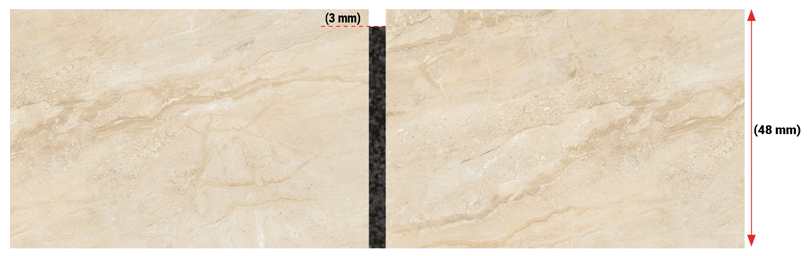
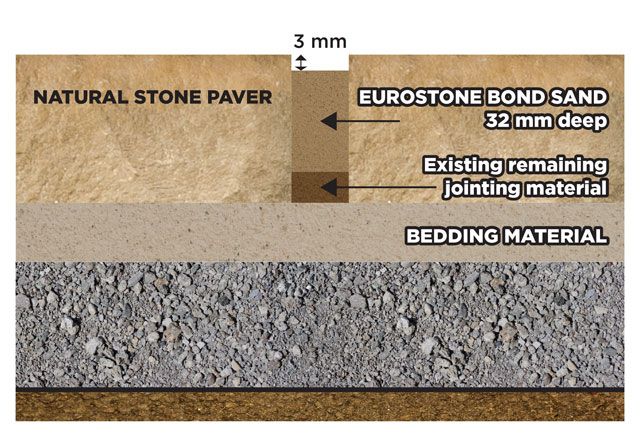
- Can be used for stone joints up to a maximum of 3.5 cm.
- Helps prevent weed sprouting and the damage caused by insects.
- Helps prevent erosion due to climatic conditions, such as wind, rain and freezing.
- Sets at above freezing temperature 0°C.
- EUROSTONE BOND can be applied in drainage base systems, sets within 1 hour after water activation at above 0°C (No rain should occur within 1 hour after water activation).
- Does not haze natural stone pavers.
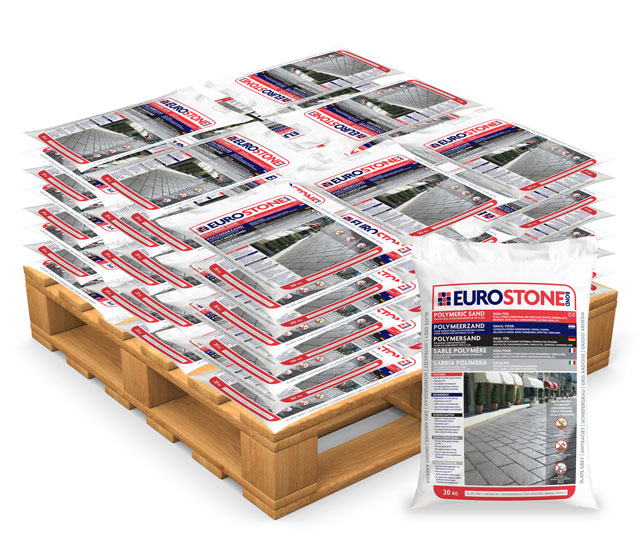
- Waterproof bags can be laid flat and stored outdoors. (Lay bag flat on its back, so front of the bag is facing you.)
- It is mandatory to have a minimum 2% top surface slope for proper water run off.
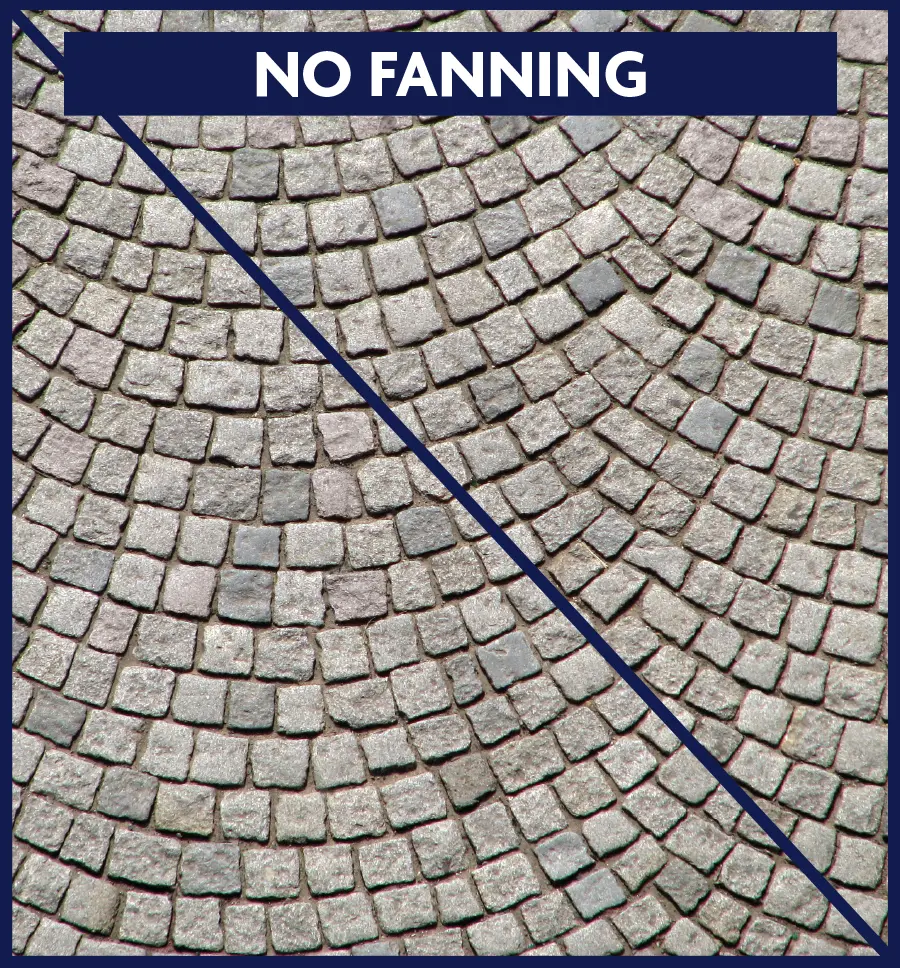
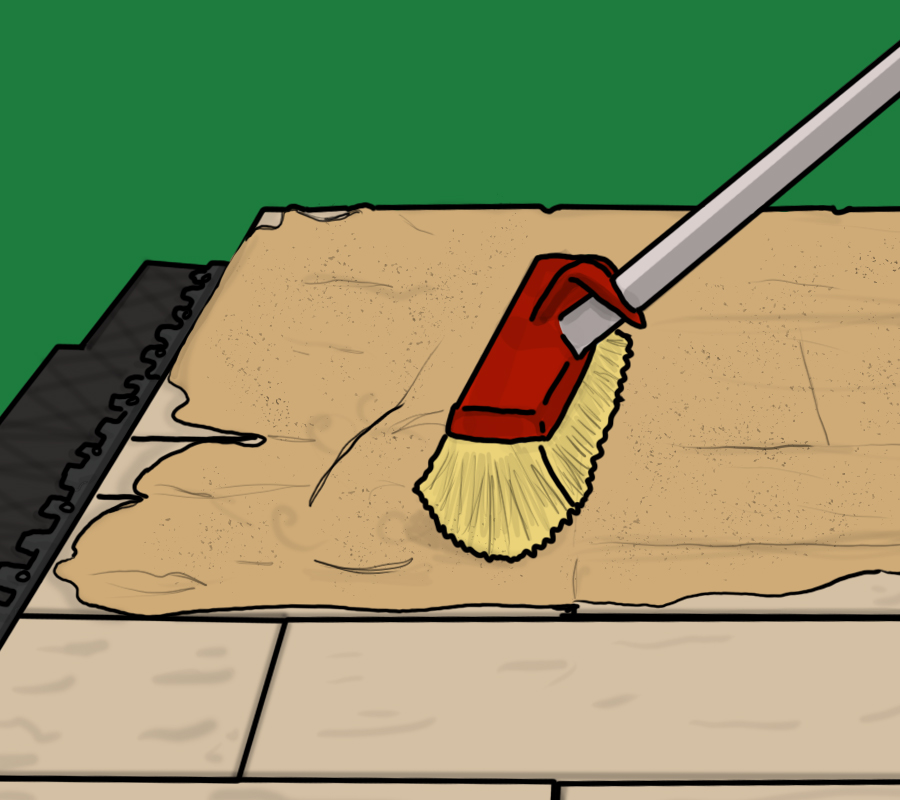
- Will resist mechanical brooming.

- Helps prevent weeds and damage caused by burrowing insects
- Helps prevent erosion due to wind, rain and freeze/thaw cycles

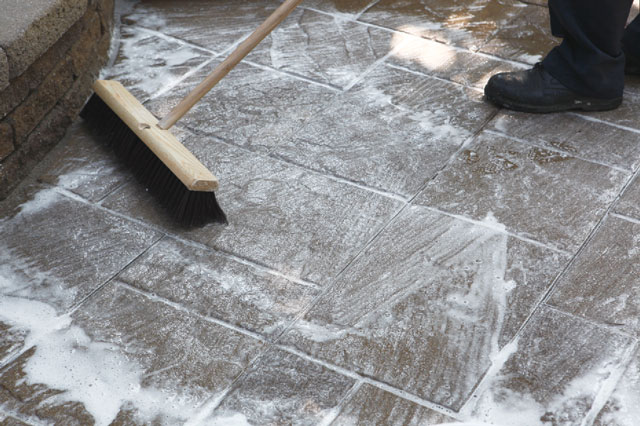
MAINTENANCE OF PAVED SURFACE
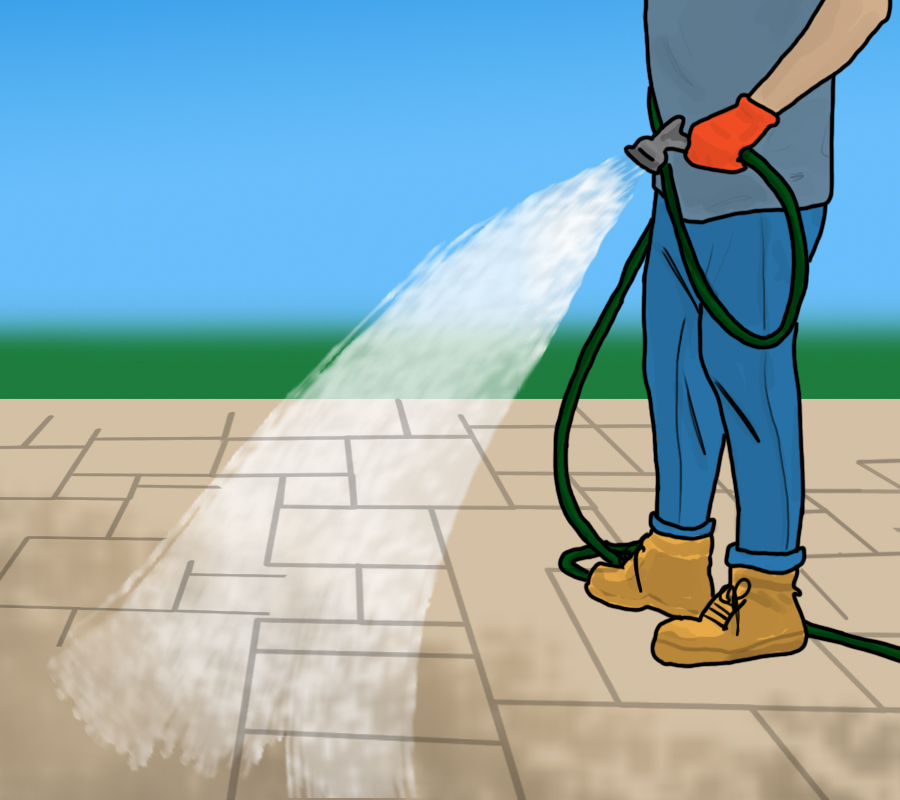
When maintaining the paver surface, apply paver cleaner to clean the entire paved surface including the paver joints. Wash, rinse and remove any residue by using a hose and a watering gun set to shower with the normal maximum water pressure from any residential or commercial building (typically 550 kPa).
MOSS
EUROSTONE BOND will not cause nor prevent moss, mold or mildew. Moss, mold and mildew are caused by certain on-site conditions including excess moisture, shade, absence of ventilation, inadequate cleaning or maintenance, presence of soil or other organic debris left on the product.
| Per 20 kg bag (Stone Paver 20 x 10 x 6 cm in height) | Narrow Joints 3-9 mm | Wide Joints 19-32 mm |
|---|---|---|
| Slate Grey | 4.2-1.4 m2 | 0.7-0.44 m2 |
| Product | Size | Units per Pallet |
|---|---|---|
| EUROSTONE BOND – Slate Grey | 20 kg | 70 |